
A common question that is asked is, can you you a mouse with Zbrush? The answer is absolutely!
The main benefit a tablet has over a mouse is pressure sensitivity. However by changing the workflow and the way you sculpt using zbrush the only thing you are sacrificing is efficiency. It’s important to note that the tools are not what makes great art, its practice.
You may even find it advantageous to use both a mouse and a tablet to improve your workflow when using Zbrush.
Below are some tips and functions you may find useful to know when using Zbrush with a mouse.
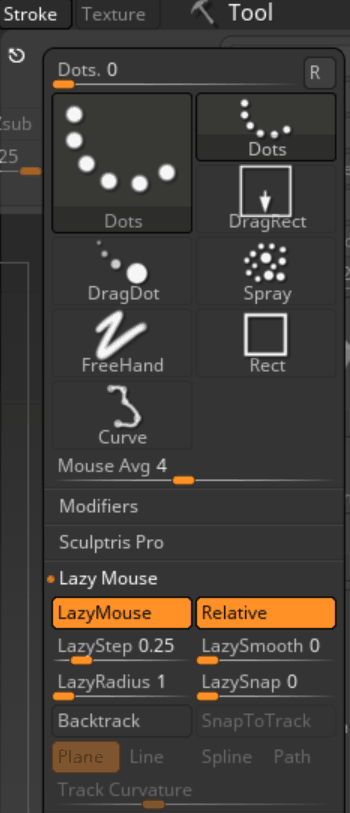
Lazy Mouse
One major drawback of not having a tablet is how precise you can be. The Lazy Mouse setting in Zbrush helps combat this.
It makes a delay on your stroke so you can easily correct yourself before you go off course. It’s feels extremely intuitive and you will wonder why you have never turned it on before.
You can find it under the Stoke – Lazy Mouse. There are few settings you can play with but the one to change is the Lazy Step setting.
By Default it is set to 0.1 but if you increase to one 0.8 or even 1 you will see a noticeable difference in your stroke. I highly recommend playing with this function!
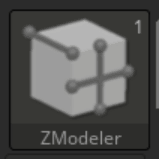
Z Modeler
If you have used any of the more conventional 3d programs such as Blender you will at some stage have box modelled. Zbrush has this functionality and it comes in the form of Zmodeler.
This is an amazing brush. It has replaced much of my box modelling pipeline reducing the need to switch between programs and saving time.
It can be difficult to grasp as it has a different workflow to other programs. Once you get the hang of it however you will be amazed at the results you can get in a short time frame. The biggest plus a mouse may be preferable over a tablet for this brush.
You can access the brush under the brush menu.
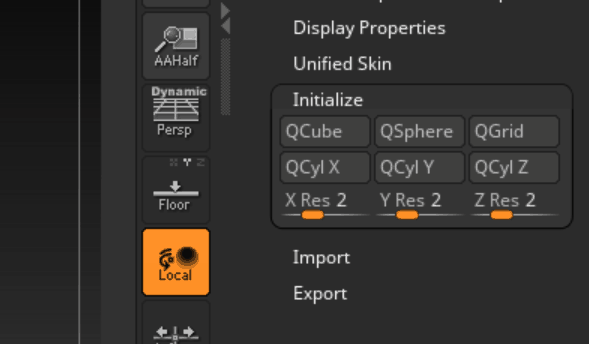
When using this brush you may wish to turn on wire frame mode. The Zmodeler works best when you are using low poly models or using a primitive shape as your base. This is because primitives come with clean topology. This can be done from the Initialise menu as per below after making your subtool a poly mesh 3d.
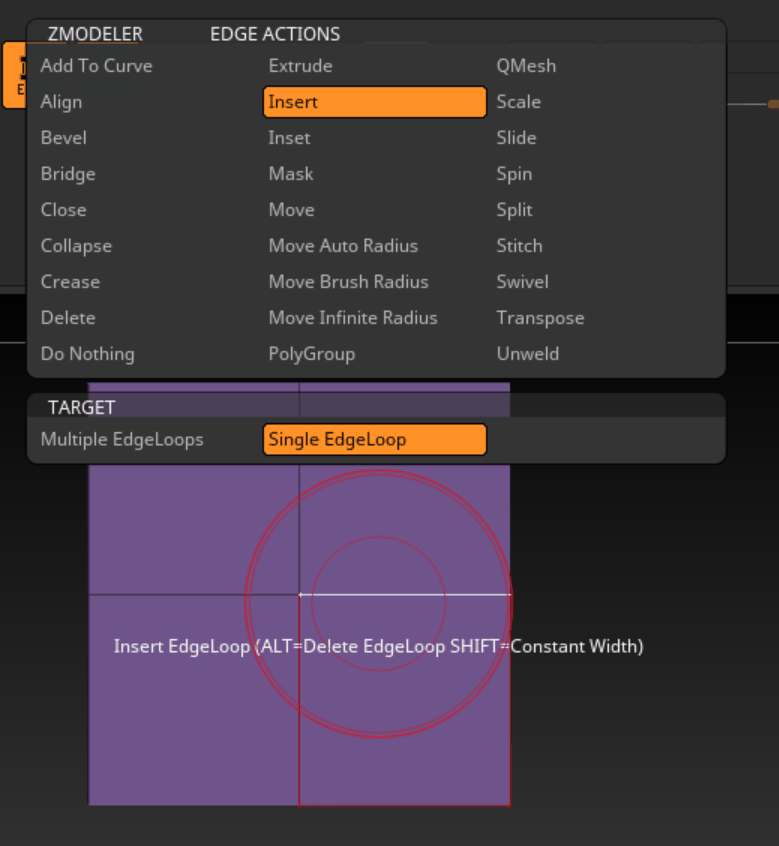
Once this is done your ready to go you can explore the various options by hovering over an edge, point or poly and pressing space bar.
There is a lot to explain and learn with this brush, I’d highly recommend watching a series of Youtube videos by Michael Pavlovich. He does a great job explaining this.
Clip & Trim Brushes
The Clip and Trim Brushes are particularly useful in Zbrush especially when it comes to hard surface modelling. With these brushes a mouse can easily be used with precision.
You can access the brushes through the brush menu of which here are various variations depending how you are looking to cut.
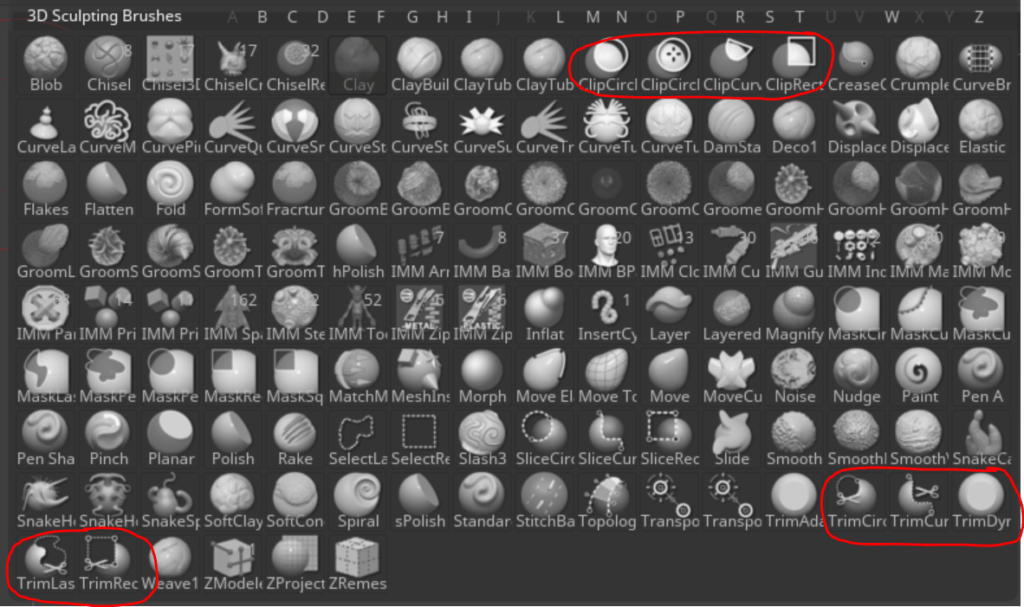
The Clip and the Trim Brushes essentially perform the same task but with 2 major differences.
The Clip Brush works with Symmetry and doesn’t erase typology it simply rearranges it to accommodate the cut.
The Trim Brush does not work in Symmetry and instead removes the topology it cuts then creates new topology.
Both have their purpose and you will learn from trial and error which to use
Clay Buildup Brush
The thing Zbrush is most well known for is its sculpting ability. This is where the appeal of having a tablet comes from, as your can sculpt harder or softer based on pressure sensitivity.
While this method of sculpting is useful its not the only way. This is where brushes such as the Clay Buildup brush is extremely useful.

The Clay Buildup brush gives you the ability to sculpt, and as the name suggests keep building on each brush stroke. It subtly layers it on the previous stroke so there isn’t a huge drop off between strokes.

The advantage of this is you don’t have to keep adjusting the intensity of the brush and to an extent the radius of the brush. It allows you to quickly sculpt shapes with little effort.
Spacebar Shortcut
This is a fairly simple trick. As you are sculpting particularly with a mouse you may be required to constantly adjust the intensity or radius. This requires you to navigate to the top bar and adjust the dial.
One way to avoid this is to simply press Spacebar on the document you are working on. This brings up the intensity radius and more wherever your cursor is currently located.

This doesn’t seem like much but any efficiencies you can utilise can greatly improve your workflow.
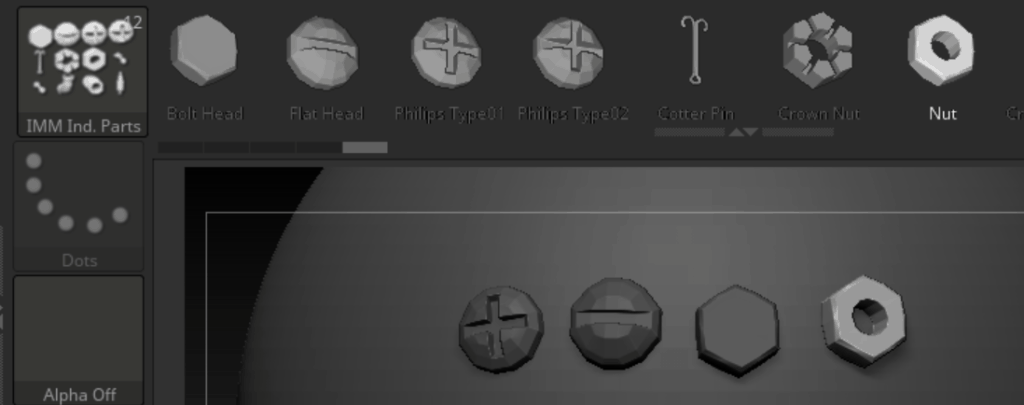
IMM Brushes
IMM brushes also known as Insert Multi Mesh brushes are great for what is referred to as kitbashing.
They allow you to quickly iterate and add fine details so you don’t need to waste time sculpting them yourself. The best part is pressure sensitivity is not an issue so you can use a mouse!
For example below you would not want to waste time sculpting each individual screw when you can insert them in a fraction of the time with an IMM Brush.
The good news is you’re not limited to what comes stock standard with Zbrush. There are tonnes available for sale or free all over the internet. Marketplaces such as the The Flipped Normal marketplace have a fantastic array of IMM brushes.
This means those fine details you you were dreading about sculpting with a mouse is not required.
It is amazing what you can do with the basic human mesh shipped with Zbrush, a little bit of sculpting and IMM Brushes.
Boolean Operations
Boolean operations are probably one of my favourite functions Zbrush has as it allows you to make complex shapes and forms.
By combining 2 subtools one additive and one subtractive you can very quickly make some precise forms. This simply means one of the subtools can take a chunk of the other subtool based on its shape. Best of all once again no sculpting involved so a mouse works great.

A great example of how this can be used is a cup. Say you have the outline of a cup and you want to add in the hollow in the middle so it could hold liquid. All you have to do is duplicate the cup subtool scale it down and make it subtractive. Like magic you created a cup in seconds no hollowing out by sculpting required.
Type of Mouse
You can easily model with any mouse, but I’ve had some reasonable success with some gaming mice. The features I look for include
Comfort of course so you can go for hours at a time.
Depth Perception Sensors. A lot of mice start to jitter when they are lifted off the table. This can be problematic when your trying to draw some fine lines. What the depth perception sensor does it stops the mouse from moving if it senses the mouse come off the table. Extremely Useful!
Personally I’ve had a lot of success with the Steel Series Rival 600 (Amazon aff link) or its Wireless counterpart the Rival 650. You will find most Gaming mice will have both of these features. It really comes down to personal preference.
Hard Surface Modelling
Where having a mouse is really advantageous is when it comes to hard surface modelling in Zbrush.
Hard surface modeling requires the use of a lot of the tools outlined in this article. While you can sculpt while doing hard surface modelling, keeping it to a minimum is the key to avoid creating organic shapes.
The use of Zmodeler, Boolean Operations, Clip, Trim, and IMM brushes is enough to accomplish almost all of whats is required for hard surface.
With this in mind it is easy to see how it is not unreasonable at all to only use a mouse in Zbrush.
Summary
Hopefully you now have an idea how Zbrush works and that its by far more than just a sculpting program. A tablet is nice to have, but you can just as easily create some great models with just a mouse. If you are however looking to purchase a tablet please check out my recommendations.
Just be sure you don’t put off learning it based on false assumptions or advice as it is a fantastic and fun piece of software to use.