If you’re new to Substance Painter you will quickly come acquainted with HDRI Maps. They are the tool it uses to light and render your images. However as you become familiar with the stock standard maps that come with Substance Painter there will be no doubt you will eventually want to expand your library and get more.
So where can get HDRI Maps? Can you create your own? If you find or make one how do you get them into Substance Painter?
In this article we will address each of these questions so you can expand your library and get you models looking great in no time.
What is a HDRI
A High Dynamic Range Imaging (HDRI) Map is a image map that uses a 3d environment to light a scene. This is a technique commonly used in the industry as it can be used to render 3d models in a scene and light them in a more natural way.
Using a HDRI can make whatever you are rendering realistically look like it belongs in that environment. The light looks really believable making it a good option to add a model into an existing photo and have it look like it belongs.
HDRI Maps are not exclusive just to Substance Painter most Rendering Software use them such as Blender and Maya.
Where to get HDRI Map for Substance Painter
Before I started using Substance Painter I’m embarrassed to say I didn’t even know what a HDRI Map was. I quickly got over the ones that come with Substance Painter and went to look for my own, only I didn’t even know what to look for.
Thankfully finding them is easy. There are many paid options however HDRI Haven is an amazing website. They have high quality HDRI maps you can use for FREE!!
It’s not often you can get quality assets like these for free. Better yet you don’t need an account. They don’t try and collect your email to market to you. They are funded by people who sponsor the website. The best part of all you can use them for both Personal and Commercial purposes. There simply isn’t more you could ask for.
I cannot recommend them enough!!!
Can you Create your Own HDRI
The obvious answer to the question is yes. After all, why wouldn’t you want to have a realistic looking Goblin on your kitchen table.
In the past creating a HDRI map has been extremely difficult to create. It required an expensive camera setup and software to stitch the pictures together. With the introduction on 360 degree cameras this process has become a lot easier and by far a lot more budget friendly.
While these cameras can set you back a few hundred dollars they are by far more accessible the the multi thousand dollar setups required in the past. If you are looking to get started I would recommend the Insta360 One X or Ricoh Theta V they are some of the best quality for the price and easy to use.
These cameras will take the photo for you but in order to create the HDRI there is a process to follow. To do this I’d recommend you check out this tutorial from VFX Tips it steps you through the process in a very beginner friendly way.
There are various options for software you can use to create the HDRI Map. Photoshop has the ability however there are free options one of which is Picturenaught 3. It is a great easy to use option.
How to Import a HDRI in Substance Painter
There are actually two ways you can import a HDR into Substance Painter you can either import it in Substance Painter or paste the file into the directory.
Before you proceed however please ensure the HDRI you are planning on importing is either a HDR or EXR file type. Substance Painter will accept either of these.
Importing HDRI through Substance Painter
In my opinion this is probable the easiest way. The first thing you need to do is open up Substance Painter.
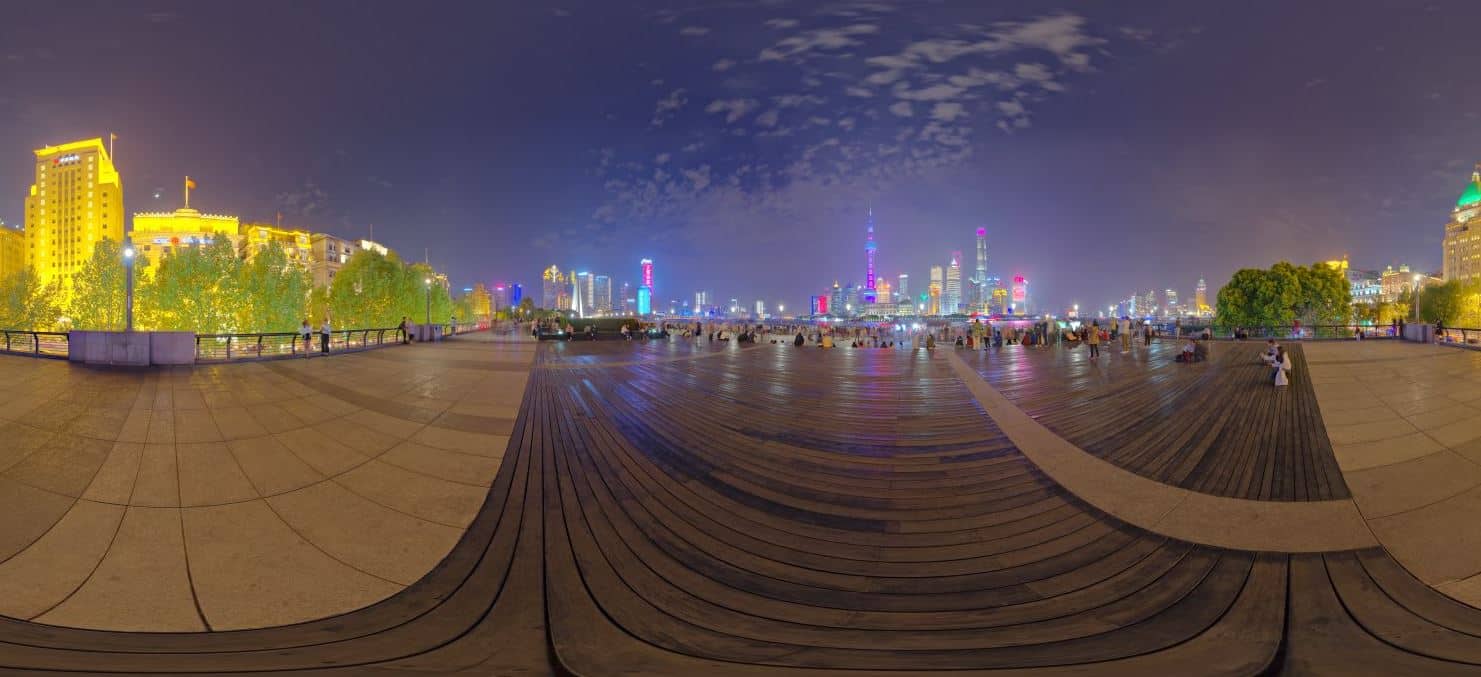
Under the Shelf section navigate to environment and then drag your file into the area with the thumbnails. In this example I’m going to use the Royale Esplanade HDRI I downloaded from HDRI Haven.

Once you do this you will be presented with the below screen. Here you tell Substance Painter what kind of file it is and secondly are you going to be using this environment for this session or will you be importing it into the Substance Painter library permanently. Once you select both these options the import button will become active.
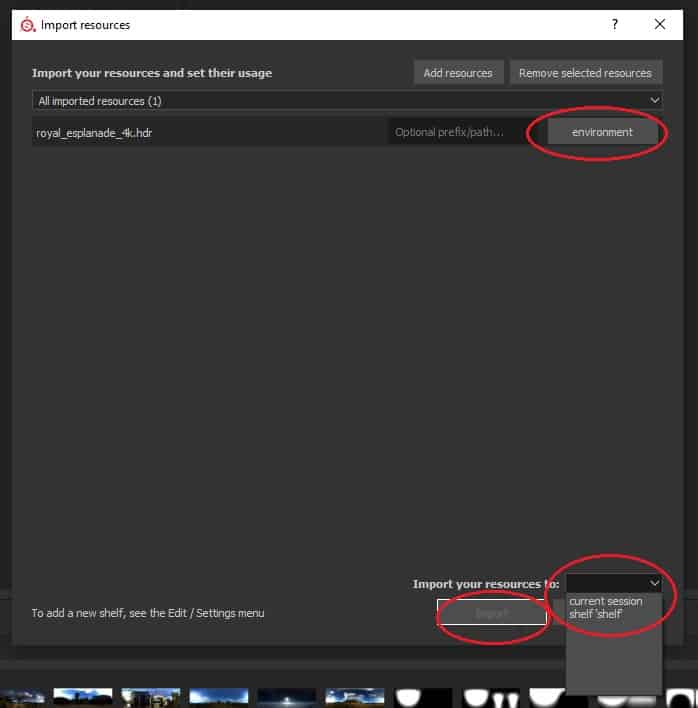
Thats it!!! The thumbnail should not appear in your environment section ans you can now use it in your scene.
Importing HDRI through Substance Painter File Directory
As the name implies you can simply import it through the file directory by pasting the file in the Substance Painter directory on your computer.
Depending where Substance Painter is on your computer you should be able to navigate to the below file.

Simply paste the HDR or EXR file in any of these files and Substance Painter will now load these files every time on start up giving you the access to them permanently going forward.
This option is great if you are importing several HDRI’s at once as it removes the need to follow the prompts that Substance Painter requires.
Conclusion
Hopefully you now have some idea where you can get your own HDRI or even make some. There is a certain satisfaction that comes being able to make your own and having your model in a location familiar to you.
At the very least you should now be aware how to import HDRI’s into SubstancePpainter so you are not just limited to the stock standard ones that are shipped with the program. I personally found these very limiting and didn’t always give me the lighting I required.
I hope you enjoyed this article and good luck with you CG endeavours.