When you first start creating 3d models it can very quickly get overwhelming keeping track of the purpose of each texture map. I for one am still unfamiliar some of them so I have done some research and collated all the most popular maps and their usage.
What is A Texture Map
Before we begin it is best to have some understanding of what a texture map is.
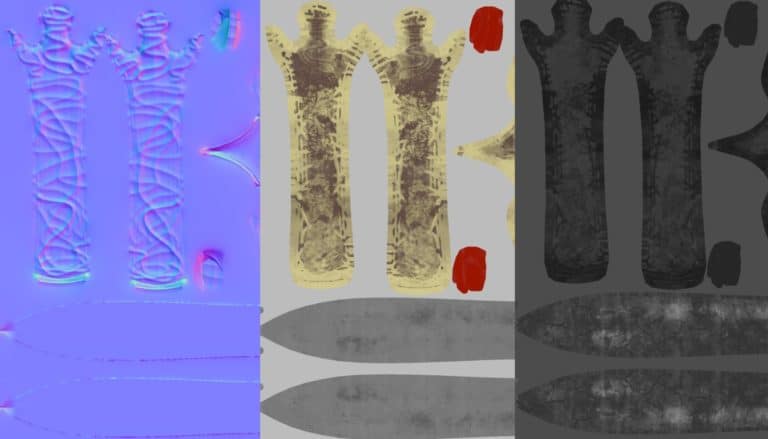
A texture map is a way of applying properties to a 3d model so as to alter its appearance using 2d images. This can include its color, fine detail, how shiny or metallic it looks, whether its transparent or if it glows.
Texture maps are applied to a 2d representation of a 3d model also known as a UV.
Over the past few years texture maps have grown in popularity particularly due to the Physically Based Rendering (PBR) pipeline which standardizes ways of texturing. Prior to this there was a reliance on manipulating shaders of the model which did not necessarily translate well between render engines.
Below are the maps I am going to focus on.
| Geometry Altering Maps | PBR Metallic Roughness | PBR Specular Glossiness | Additional Maps |
| Bump Map | Base Color Map | Albedo Map | Opacity Map |
| Normal Map | Metallic Map | Specular Map | Emmissive Map |
| Displacement Map | Roughness Map | Glossiness Map |
Geometry Altering Maps
The first group of maps are maps that have the ability to alter fine details of a model’s geometry. These maps are generally used in place or a high poly mesh. They are applied to a low poly mesh to fake the detail of the high poly mesh. Some of these maps have alternate names so they are sometimes difficult to identify and understand the difference.
Bump Map
A Bump Map is the most basic form of maps that alter geometry. They are the least resource intensive as they utilize a simple algorithm to alter the appearance of the model. It’s because of this these maps are very popular despite being around for some time.
Bump Maps utilizes a grey scale texture map. Black indicates the lowest part of the faked geometry and White being the peak with Grey being somewhere in between based on the shade.
So the question is why not always use Bump Maps? While they are useful they have some considerable disadvantages. The algorithm bump maps use simply givew the appearance of altered geometry, they don’t actually alter the geometry. When it comes to altering the appearance of round objects or edges they don’t create great detail and the illusion the create falters.
Bump Maps are best used for flat surfaces and small details such as a brick or a licence plate.
Normal Map
A Normal Map is a step up from a Bump Map and has a little more smarts about it. Once again a Normal Map does not create extra geometry it simply fakes it. A Normal Map is still a relatively low resource intensive algorithm but is not as efficient as a Bump Map. This being the case they are a very popular choice and used heavily in games.
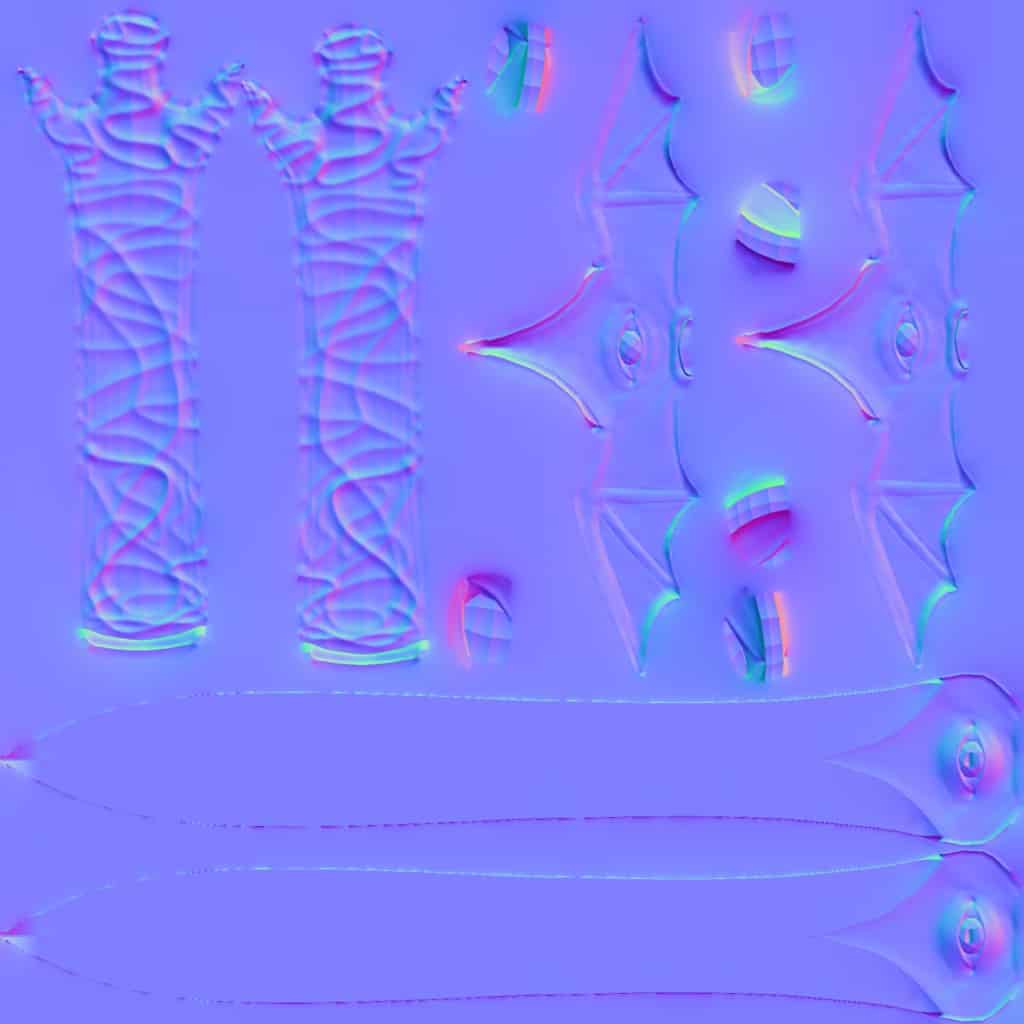
Unlike a Bump Map which utilizes a grey scale texture map to denote up and down. A Normal Map uses a RGB map with each color dictating the X, Y & Z axis this far better accuracy and removes much of the disadvantages of a Bump Map.

The Normal Map works great in most scenarios as it does a great job faking detail on flat surfaces, curved surfaces and around edges. However its biggest disadvantage is it does not change the geometry. If you look close enough you can still see the basic outline of the low poly model.
Using Normal Maps is great for games as it comes down to a performance over quality scenario. For high quality renders and movies this isn’t a great choice.
Height Map / Displacement Map
Displacement Maps are a step up once again to Normal Maps, however they are also the most resource intensive. This is primarily due to the fact unlike the Normal and Bump Maps the displacement map actually modifies the geometry.
Like the Bump Map the Displacement Map uses grey scale values for its map.
Due to the fact that the Displacement Map actually creates the additional geometry it gives the best result. It gives little indication as to the original low poly meshes shape or silhouette.
This extra performance however comes at a cost which limits its use. Games do not use these as much do to their real time rendering requirement. They are normally limited to rendered images and movies.
Physically Based Rendering Maps
When It comes to maps required for Physically Based Rendering (PBR) there are two different types of methodologies used which require different maps. There is the Metallic Roughness workflow and the Specular Glossiness workflow.
I encourage you to check out this article I wrote of the basics of PBR if you want to learn more about the workflows.
Metallic Roughness Workflow
There are three maps that are primarily used for the Metallic Roughness workflow. These include the Base Color, Metallic and Roughness map.
Base Color Map
The Base Color Map isn’t exclusive to a PBR workflow but I have included it here as it is a requirement for the Metallic Roughness workflow. Be aware however it can be used by itself.
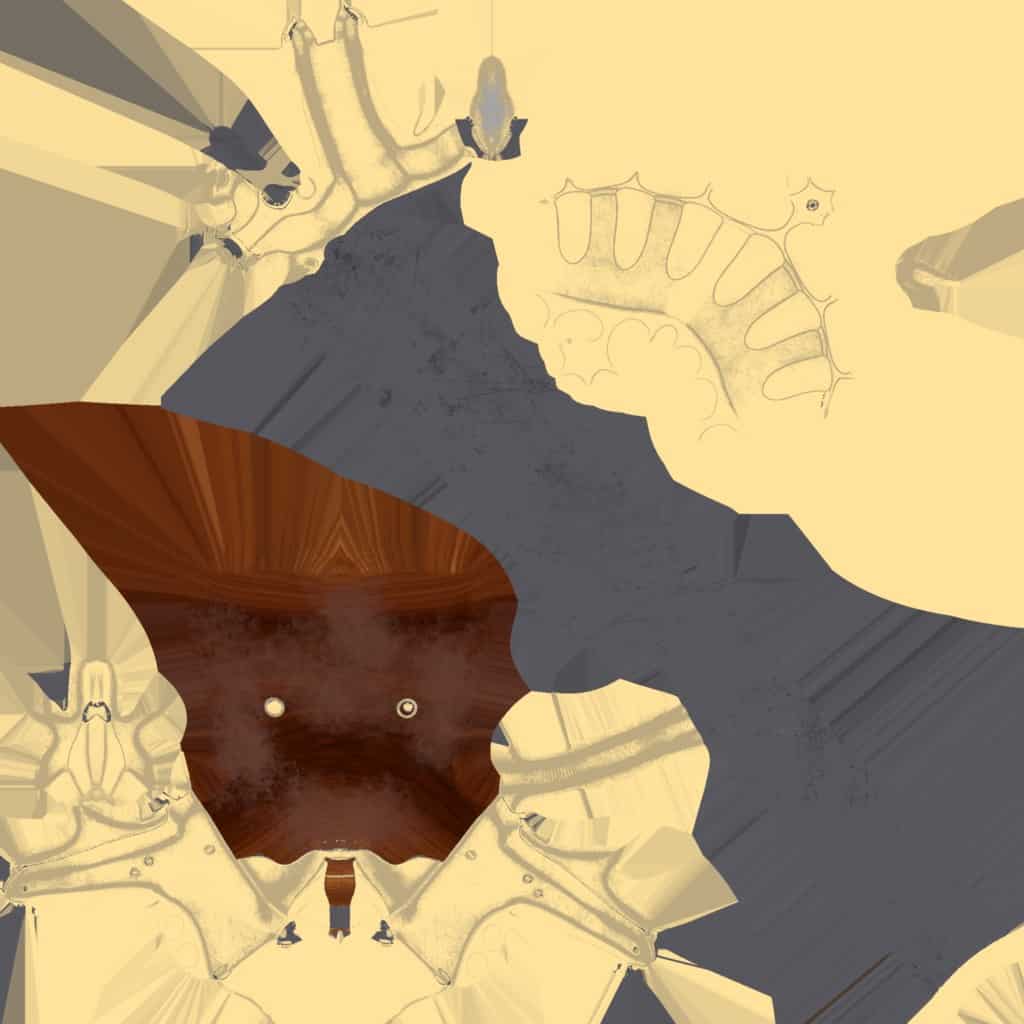
The base color map is exactly what the name implies. It is a texture that alters the base color of your model. There is no limitation to the colors this can display

Metallic Map
A Metallic Map is used to denote if a model is either a metal or not. This map is primarily used and a Metallic Roughness PBR pipeline.
The Metallic Map like some of the other maps is a grey scale map with White representing fully metallic and Black not metallic at all with Grey somewhere in between.
Roughness Map
A roughness map is used to interpret how smooth a model is. This is done by altering how much light is reflected off the model and how much is absorbed. You could think of this like the difference between a mirror and rubber.
Once again a Roughness Map is a grey scale map with Black being perfectly smooth and White being non reflective and rough. Depending on the shade of Grey it will be somewhere in between.
Specular Glossiness Workflow
Like the Metallic Roughness workflow the Specular Glossiness workflow has three maps these include Diffuse/Albedo, Specular and Glossiness Map.
Diffuse / Albedo Map
A Diffuse or also known as an Albedo map is almost identical to a Base Color Map in that it gives the model almost all its color but with one difference. It does not contain values that would represent metal these appear black. In a PBR workflow this is controlled by the Specular Map.
Please note a Albedo Map may vary depending on workflow however and in some cases is almost identical to a Base Color Map. This is simply how it works within a PBR Workflow.
Specular Map
Specular Maps in a PBR workflow have the ability to not only dictate the the metallic value of the model but also the color of the reflectiveness. This is the main reason for the missing metallic values in the Albedo map.
The Specular Map is fully RBG as the metallic color is left out of the Albedo Map.
Please note this is strictly for a PBR workflow. This map has variations depending on its use in which kind of workflow.
Glossiness Map
Glossiness Map is almost the same as the Roughness Map. It dictates how much light is reflected or absorbed.
A Glossiness Map is a Grey Scale map and this is where it differs from a roughness map. Its values are inverted. With this map White is perfectly smooth/glossy and Black is not glossy/rough with Grey somewhere in between.
A Glossiness Map can easily be converted to a roughness map by simply inverting the values in a program like Photoshop.
Additional Maps
There are various other maps that alter the appearance of the model that are not necessarily part of the PBR workflow. There are two in particular I would like to draw your attention to The Opacity Map & Emissive Map.
Opacity Map
The Opacity Map dictates how transparent a model is. This is useful for making material such as glass.
Once again the Opacity Map is a grey scale map. Black means the surface is completely transparent and White is not at all, with Grey somewhere in between.
Emissive Map
The Emissive Map dictates how my glow/bloom is emitted from an object. This can be great to simulate LED buttons or lights shining from a building for example.
These are grey scale maps with White being maximum glow, Black being not at all and Grey somewhere in between.
Conclusion
Please be aware this is not the complete list of every texture in existence as different render engines use different workflows and maps. These are simply some of the most common you are likely to come across.
Hopefully you now have a better understanding of texture maps and this article has given you some guidance if you are stuck or confused. I wish you luck with your modelling and make sure you have fun. It can be intimidating but also extremely rewarding. I encourage you to keep at it and experiment.

